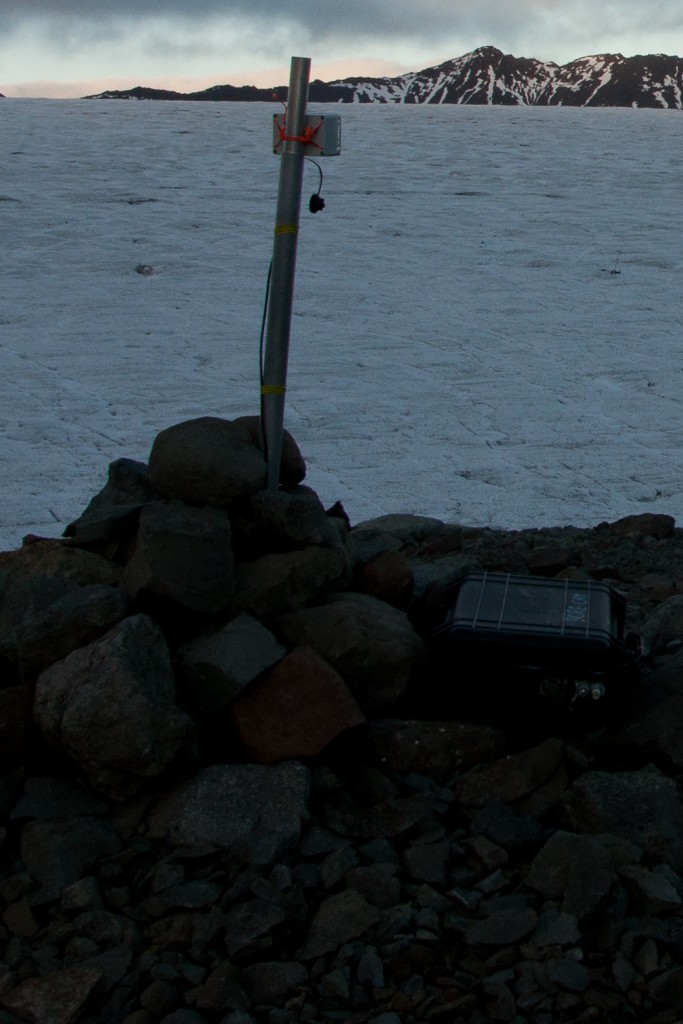
Moraine Camera captures first snow of 2013

This simple camera test used our "snow-cape" linux-based Beaglebone computer and a normal logitech webcam. It connected directly via 16km Wifi to Holmur!

This simple camera test used our “snow-cape” linux-based Beaglebone computer and a normal logitech webcam. It connected directly via 16km Wifi to Holmur! (photo Aug 2014)

We are occasionally getting pictures from the camera set up on the moraine of the glacier.

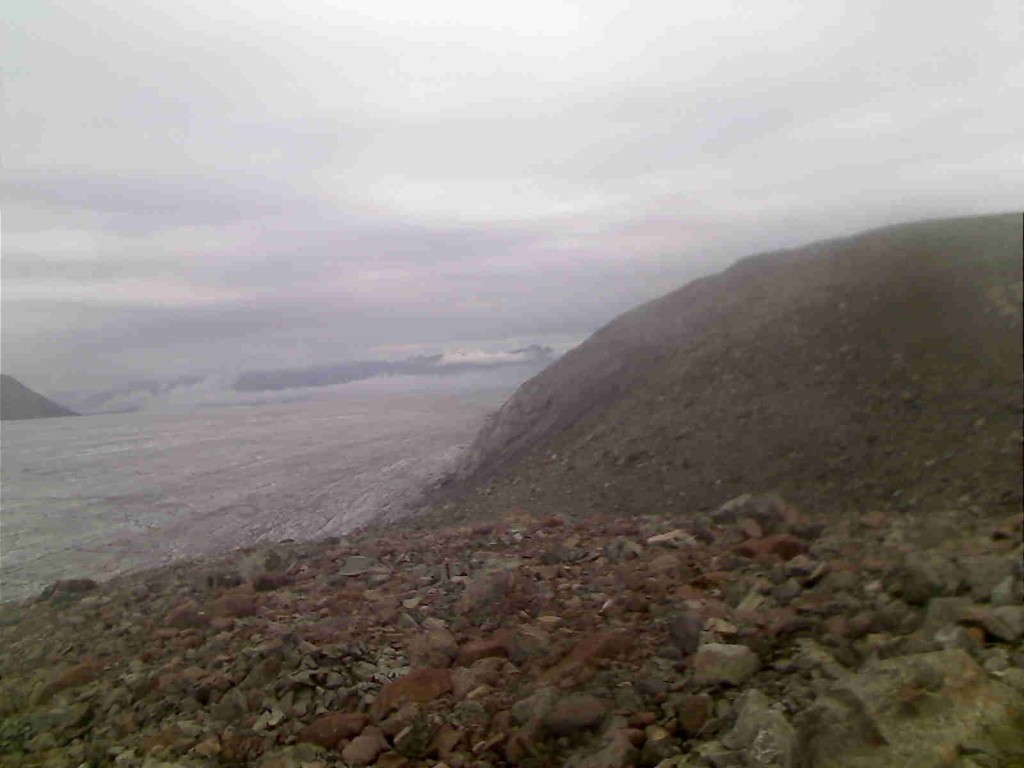
Moraine without snow

Taken on 05/10/2013, with no snow visible

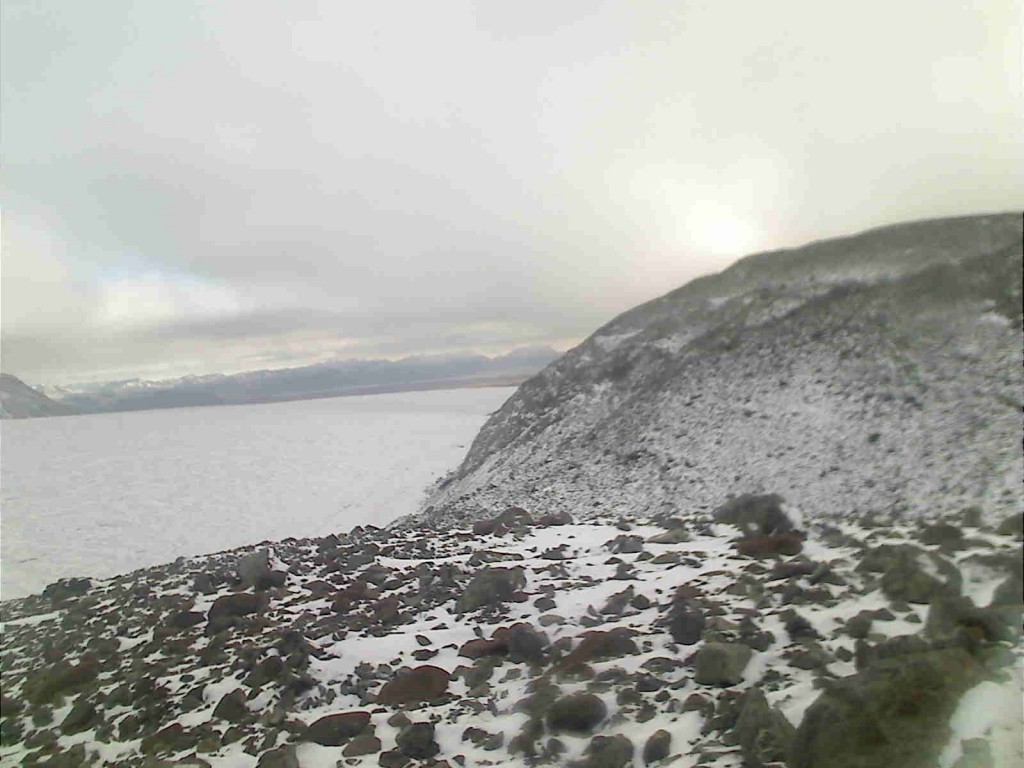
Moraine with snow

Taken on 07/10/2013, with snow visible

2008 Wired probe recovered

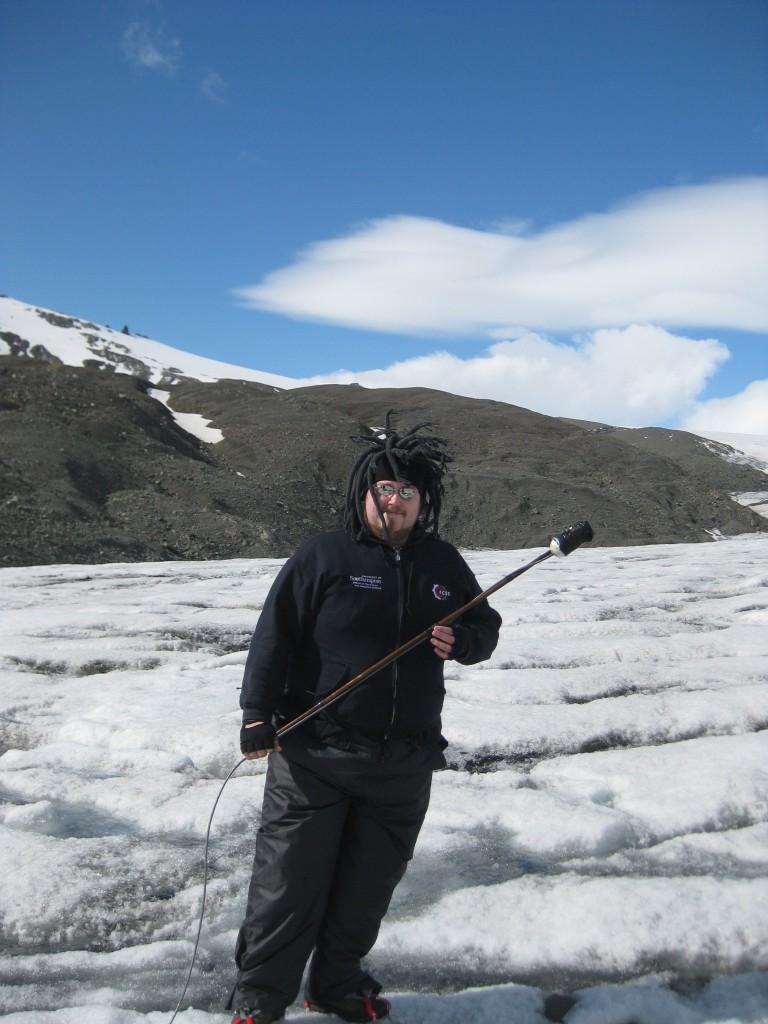
For the last few years we have seen more and more of the lead for the 2008 wired probe be exposed due to surface melt.  We were hoping that this year for the first time in Iceland we’d be able to recover it.  When we arrived this year we found the lead going into a stream on the surface of the glacier, and with a bit of wiggling Graeme (shown below) was able to extract the probe.

IMG_1916

Graeme with a wired probe from 2008 which has been recovered.

We’re looking forward to being able to open it up and see how well it has survived.


White-out

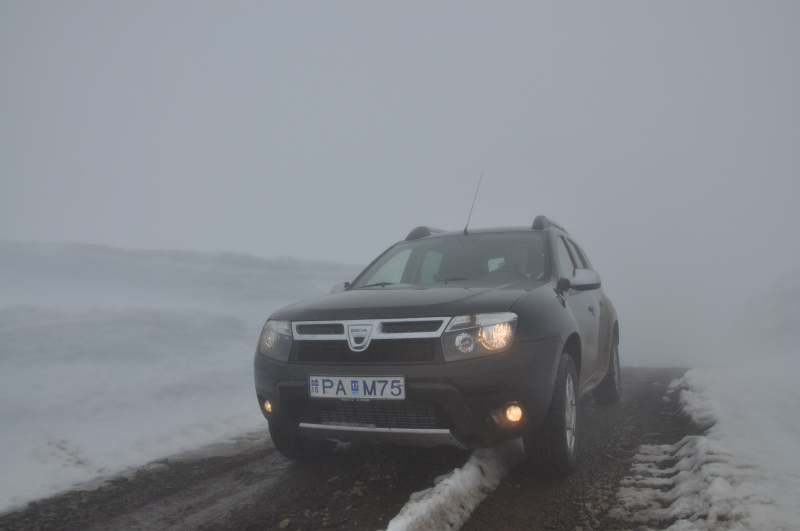
We’ve returned from the mountain very early today as whilst we could actually drive to our usual parking space we could only see about 3 meters. So we’ve come back to the farm to charge some batteries and do other jobs.

Our Dacia Duster on the road back from the glacier, between walls of about 2m high snow,

Our Dacia Duster on the road back from the glacier, between walls of about 1.8m high snow.

Glacsweb meets openIMAJ

We have deployed a Brinno TLC100 camera to monitor the flow in the outlet river from the glacier we work on, footage from this camera can be seen in a previous blog post.  However, whilst being simple to set up the output from the camera is not particularly useful for analysis.   It saves the images as an avi file, which is great for the amateur timelapse market, not so good for our purposes.

In order to fix this the file was first run through ffmpeg in order to get separate jpeg files for each image.  However, this then let to the problem of how to extract the time stamp from the image.  Image processing is not area but fortunately the openIMAJ team is based in the same building as us.  I went and had a chat to Jon Hare asking if there was anything suitable available off the shelf, unfortunately the software available did not produce good results.  So Jon went away and within a few hours he had written a custom piece of software to perform the OCR for us.  I then wrapped this in a python script to process a folder and  automatically rename the files with the timestamp and add the relevent data to the database.

Once the script had run we had a collection of about 900 images all the the correct timestamp for the file name, and included in the database to enable us to keep track of what times we had images for.

That was the simple part – the hardest part is yet to come – working out river depth from the images we now have.
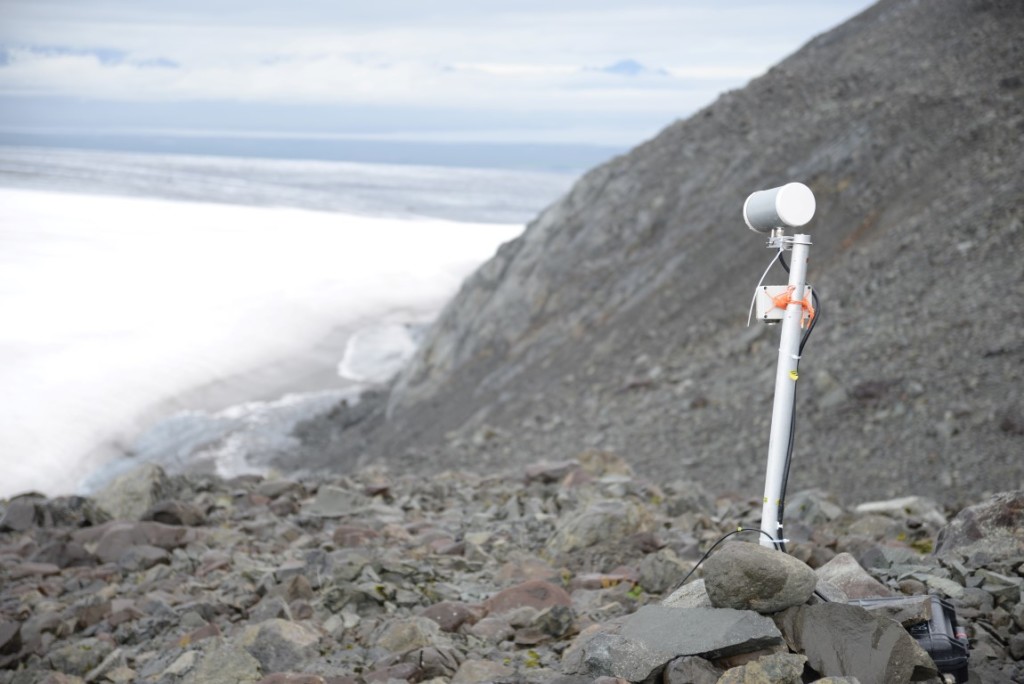
Camera node deployed

A couple of weeks ago we deployed our first prototype dedicated camera node.  This node is set up to take a picture every day and store them locally.  This prototype was put together quickly so doesn’t have the full range of functionality that the final versions will have.

Prototype camera node deployment

Data retrieval

We’ve just got back from the September trip to the glacier to do some maintenance and generally prepare the systems for the winter.  Whilst there Alex filmed us attempting (and succeeding in) getting data from the probes deployed in the summer.

WiFi link is up

The network that was deployed last summer via a 16km wireless link has largely survived the winter – one dish needed some TLC in Oct and has since been replaced (whilst not strictly necessary it made sense to do it whilst we’re here).  I figured what better  way of testing the link than writing a blog post. So here we are, this has been written on a  laptop using the aforementioned link 🙂